스프링부트로 코로나 바이러스 트래커 만들기-03
이 프로젝트는 Java Brains 유투브 영상을 보며 공부한 것을 정리하기 위해서 남김을 알립니다. 영상과는 조금 다를 수 있음을 알립니다.
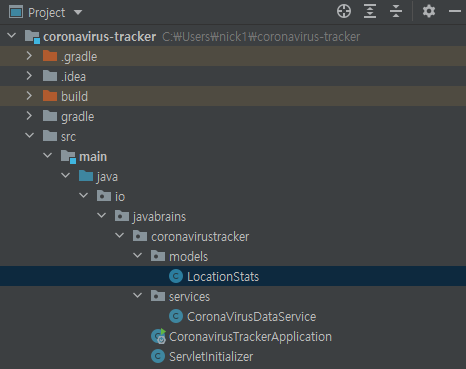
이전 게시물에서 Commons-csv 라이브러리를 사용해서 헤더에 해당하는 값을 추출하는 것을 해봤다. 이번에는 그 값들을 저장할 수 있는 클래스를 만들고 리스트에 그 값들을 담아보겠다. 먼저 model 패키지와 그 안에 LocationStats.java 파일을 만든다.
LocationStats.java
package io.javabrains.coronavirustracker.models;

public class LocationStats {
    private String state;
    private String country;
    private int latestTotalCases;

    public String getState() {
        return state;
    }

    public void setState(String state) {
        this.state = state;
    }

    public String getCountry() {
        return country;
    }

    public void setCountry(String country) {
        this.country = country;
    }

    public int getLatestTotalCases() {
        return latestTotalCases;
    }

    public void setLatestTotalCases(int latestTotalCases) {
        this.latestTotalCases = latestTotalCases;
    }
}
다 만들었으면 이제 이 클래스 객체를 이용해서 헤더 값들을 담을 수 있는 리스트를 만들어보자.
CoronaVirusDataService.java
@Service
public class CoronaVirusDataService {

   (...)
    private List<LocationStats> allStats=new ArrayList<>();

    @PostConstruct
    @Scheduled(cron="* * 1 * * *")
    (...)
자 이제 우리는 LocationStats 객체를 만들 수 있다. LocationStats 클래스를 만들었으니 이것을 이용해서 각 데이터를 이 클래스 변수에 담고 출력해서 확인해 보자. 먼저 LocationStats에서 toString() 메서드를 정의해준다.
LocationStats.java
package io.javabrains.coronavirustracker.models;

public class LocationStats {
    private String state;
    private String country;
    private int latestTotalCases;

    (...)

    @Override
    public String toString() {
        return "LocationStats{" +
                "state='" + state + '\'' +
                ", country='" + country + '\'' +
                ", latestTotalCases=" + latestTotalCases +
                '}';
    }
}
서비스 자바 파일을 다시 수정한다
CoronaVirusDataService.java
(...)
@Service
public class CoronaVirusDataService {

    (...)

    private List<LocationStats> allStats=new ArrayList<>();

    @PostConstruct
    @Scheduled(cron="* * 1 * * *")

    public void fetchVirusData() throws IOException, InterruptedException{

        List<LocationStats> newStats=new ArrayList<>();

        HttpClient client=HttpClient.newHttpClient();
        (...)

        for (CSVRecord record : records) {
            LocationStats locationStat=new LocationStats();
            locationStat.setState(record.get("Province/State"));
            locationStat.setCountry(record.get("Country/Region"));
            locationStat.setLatestTotalCases(Integer.parseInt(record.get(record.size()-1)));
            System.out.println(locationStat);
            newStats.add(locationStat);
        }
        this.allStats=newStats;
    }
}
7: LacationStats를 담을 수 있는 리스트 객체를 선언한다.
14: fetchVirusData() 메소드 안에 또 newStats 객체 배열을 만드는 이유는 동시성 문제 때문이다. 많은 사람들이 서버에 접근하게 되는데 우리가 이 앱을 구성하고 있는 동안에 서버에 접근하려는 사람들이 에러 response를 갖게 하지 않기 위해서다. 그래서 새로운 LocationStats 객체(newStats)를 만들어서 앱을 구성하는 작업이 끝나면 newStats를 allStats로 덧붙이는 형식으로 한다. 이 메소드가 실행되는 그 짧은 시간에 유저가 request를 해도 현재 데이터(allStats)를 보여줄 것이다.
23: csv 파일을 보면 매일 그날 날짜로 업데이트 된다. 우리는 여기서 가장 마지막 날의 데이터를 뽑아내야 하는데 Commons-Csv의 user guide 중 인덱스로 값을 조회하는 메서드를 제공한다. 그래서 record.size()-1를 이용해서 가장 최근 날짜의 확진자 수를 가져올 수 있다. 이 메서드의 반환형은 String이기 때문에 Integer로 parse해서 받아온다.
24: toString() 메서드 호출로 각 데이터 출력
25, 27: 동시성 문제 해결을 위한 코드
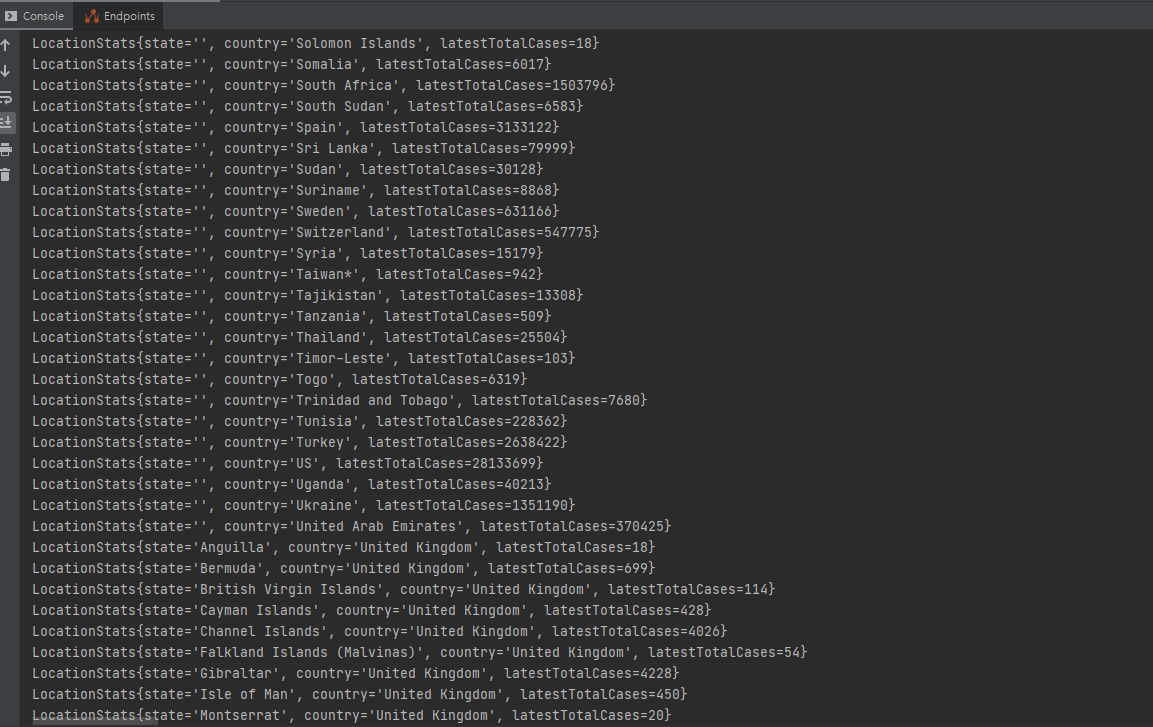
어플리케이션을 실행시키면 아래 사진과 같이 결과가 잘 나오는 것을 볼 수 있다.
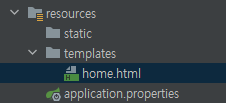
이제 할 것은 이 데이터를 ui 포맷으로 랜더링하는 것이다. url에 접근하여 이 stats를 랜더링하여 html 파일에서 사용하는 것이다. Controller를 만들어보자. 그전에 먼제 html 파일을 만들고 thymeleaf 공식 홈페이지에서 쓸만한 템플릿을 복사해서 붙여넣는다.
이 사이트에서 쓸만한 템플릿을 찾는다.
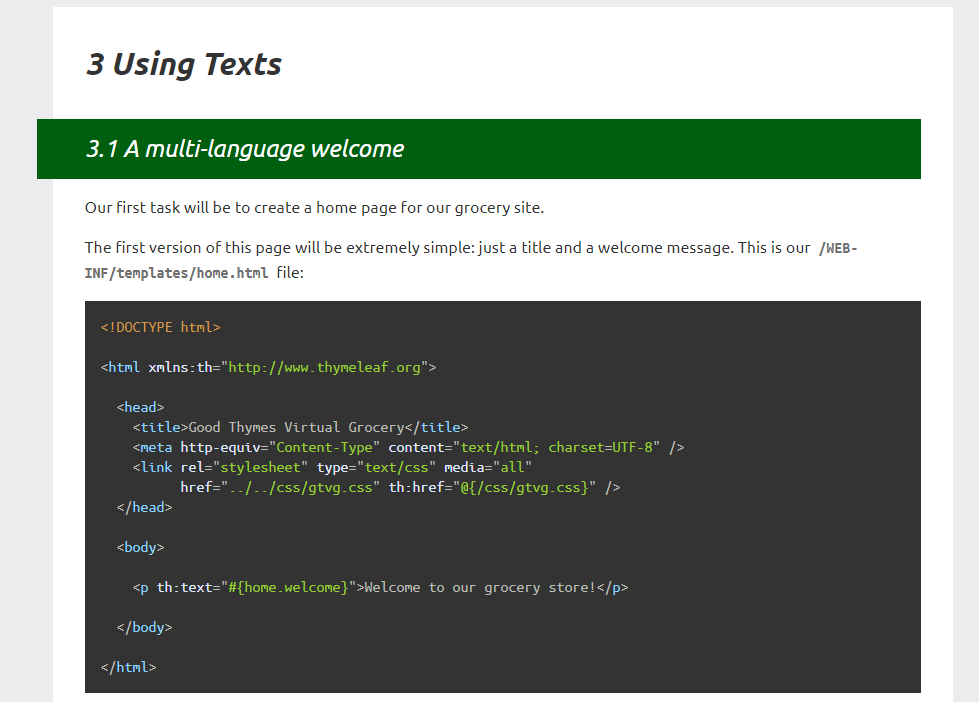
가장 무난한 이 코드를 가져다가 쓴다.
home.html
<!DOCTYPE html>

<html xmlns:th="http://www.thymeleaf.org">
  <head>
    <title>Good Thymes Virtual Grocery</title>
    <meta http-equiv="Content-Type" content="text/html; charset=UTF-8" />
    <link
      rel="stylesheet"
      type="text/css"
      media="all"
      href="../../css/gtvg.css"
      th:href="@{/css/gtvg.css}"
    />
  </head>

  <body>
    <p th:text="#{home.welcome}">Welcome to our grocery store!</p>
  </body>
</html>
이제 controller를 구성한다. 패키지와 자바 파일을 생성한다.
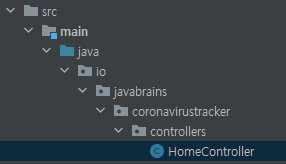
HomeController
package io.javabrains.coronavirustracker.controllers;

import org.springframework.stereotype.Controller;
import org.springframework.ui.Model;
import org.springframework.web.bind.annotation.GetMapping;

@Controller
public class HomeController {
    @GetMapping("/")
    public String home(Model model){
        model.addAttribute("testName:","TEST");
        return "home";
    }
}
9: @GetMapping를 통해서 해당 url로 리턴하는 html에 접속하도록 한다.
10: Model 클래스를 이용해서 접속하고자 하는 html에 mode.addAttribute 메소드를 이용해서 데이터를 보내줄 수 있다.
12: 리턴하는 String 문구는 연결되는 html 이름이다.(home.html)
html를 다시 수정하자. Thymeleaf로 addAttribute 했던 값을 받아오기 위해서는 이렇게 ${} 형식을 쓴다. 중괄호 안에는 attributeName으로 설정해준 문자열을 넣는다.
<!DOCTYPE html>

<html xmlns:th="http://www.thymeleaf.org">
  <head>
    <title>Coronavirus Tracker Application</title>
    <meta http-equiv="Content-Type" content="text/html; charset=UTF-8" />
  </head>

  <body>
    <p th:text="${testName}"></p>
  </body>
</html>
어플리케이션을 실행해서 제대로 작동하는지 확인해본다.
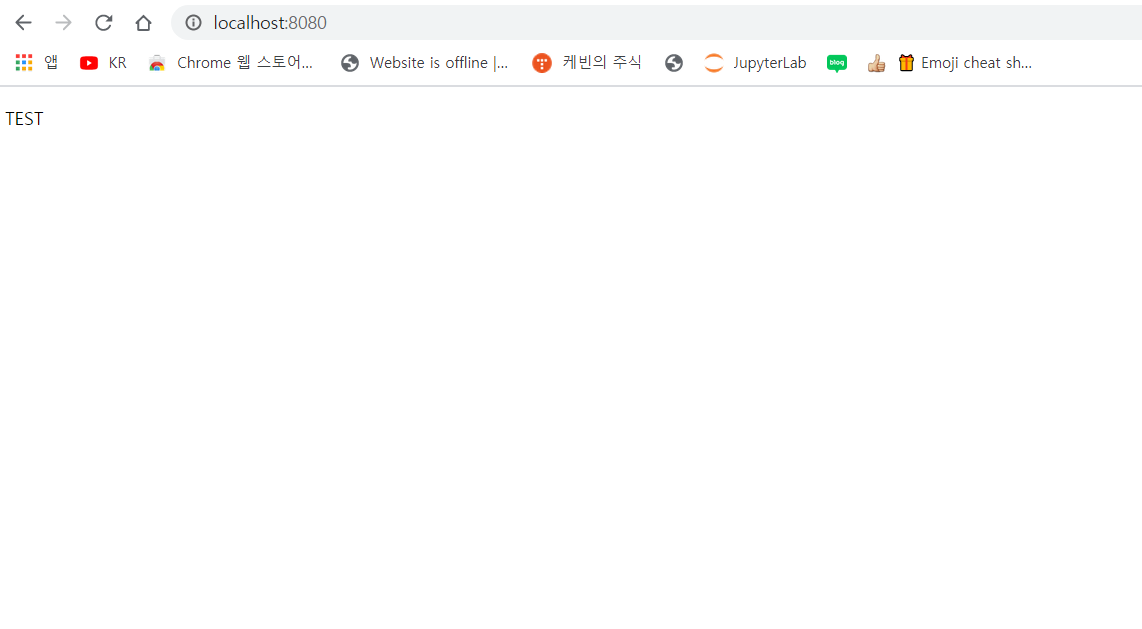
본격적으로 allStats 객체를 html로 넘기는 작업을 해보자. 앞에 CoronaVirusDataService.java에서 allStats 객체를 반환하는 getAllStats 메소드를 만든다.
CoronaVirusDataService.java
(...)
@Service
public class CoronaVirusDataService {

    (...)

    private List<LocationStats> allStats=new ArrayList<>();

    public List<LocationStats> getAllStats() {
        return allStats;
    }

    (...)
}
그리고 controller를 수정한다
HomeController
@Controller
public class HomeController {
    @Autowired
    CoronaVirusDataService coronaVirusDataService;
    @GetMapping("/")
    public String home(Model model){
        model.addAttribute("locationStats",coronaVirusDataService.getAllStats());
        return "home";
    }
}
마지막으로 html에서 looping를 통해서 각 데이터를 뽑아내는 방법을 타임리프 공식 홈페이지에서 찾아보자. iteration 카테고리 쪽을 살펴보니 쓸만한 코드가 보인다. 여기서 table 태그로 둘러쌓여진 부분을 복사해서 가져오자.
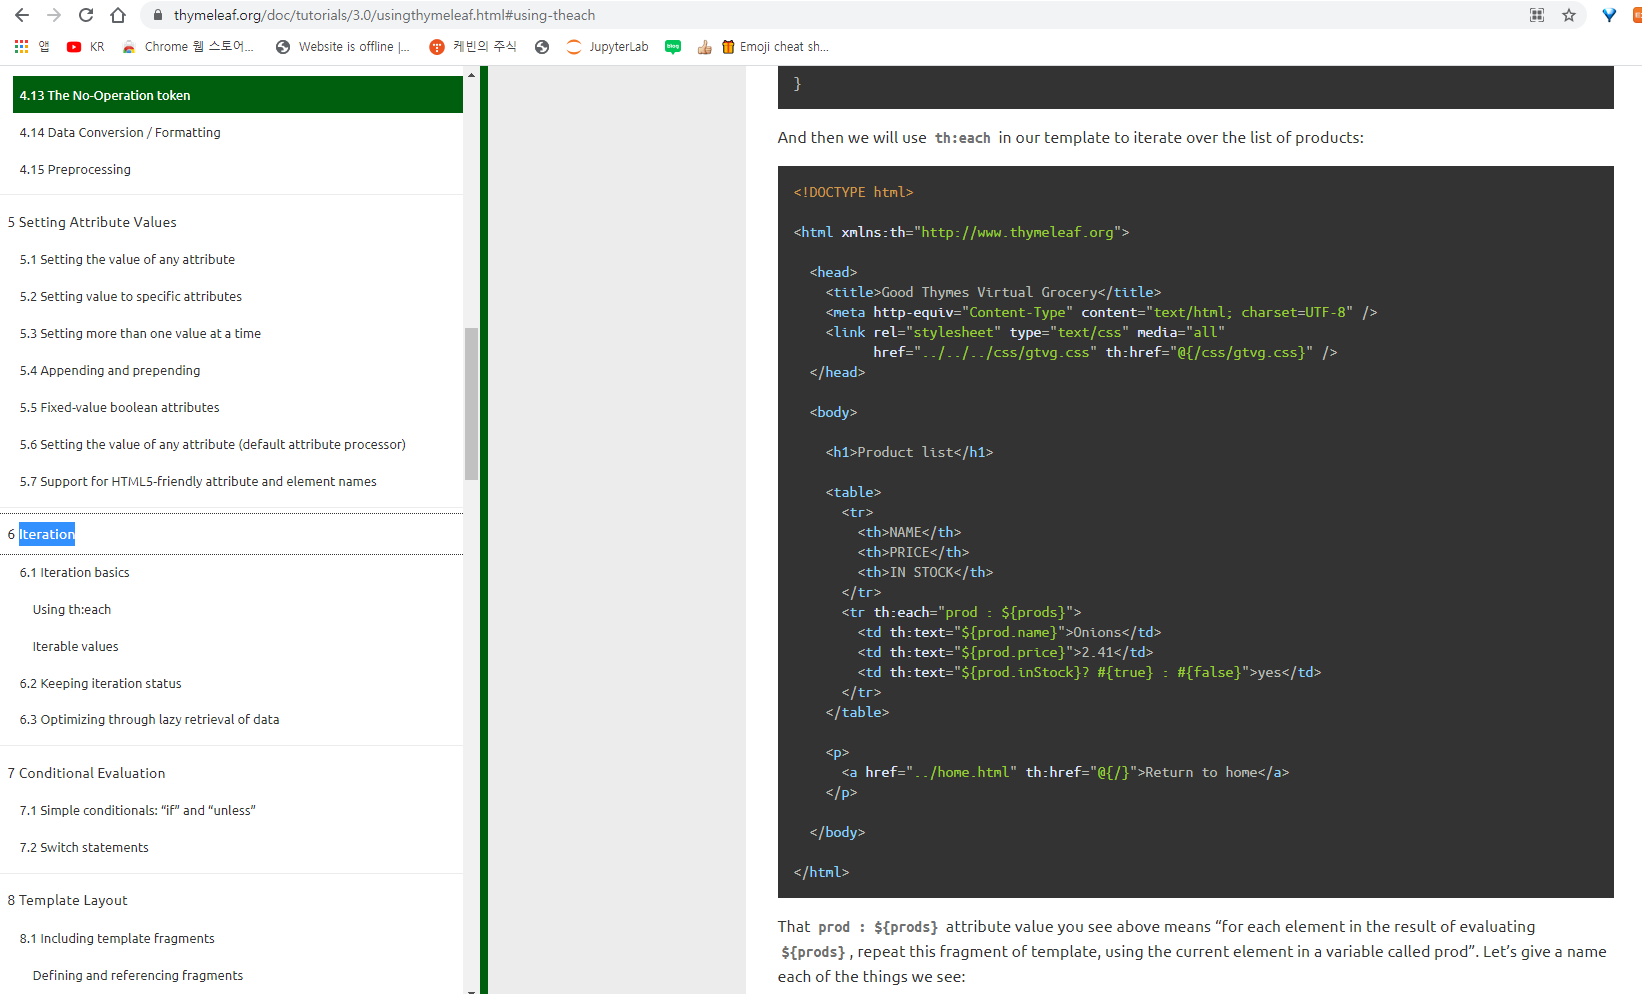
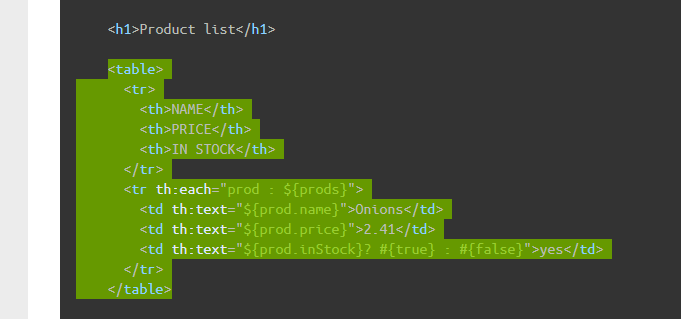
아래 사진에서 th:each를 이용해서 데이터를 순회할 것이다. model로 설정했던 attribute를 ${locationStats}로 받고 리스트 배열로 되어 있는 이 객체에서 한 객체씩 th:each=”locationStat”의 locatonStat 변수로 한 요소씩 받아서 그 요소의 데이터를 각각 찍어주는 역할을 하게 만든다.
home.html
<!DOCTYPE html>

<html xmlns:th="http://www.thymeleaf.org">
  <head>
    <title>Coronavirus Tracker Application</title>
    <meta http-equiv="Content-Type" content="text/html; charset=UTF-8" />
  </head>

  <body>
    <table>
      <tr>
        <th>State</th>
        <th>Country</th>
        <th>Total cases reported</th>
      </tr>
      <tr th:each="locationStat : ${locationStats}">
        <td th:text="${locationStat.state}"></td>
        <td th:text="${locationStat.country}"></td>
        <td th:text="${locationStat.latestTotalCases}">0</td>
      </tr>
    </table>
  </body>
</html>
이제 다시 어플리케이션을 시작해보자.
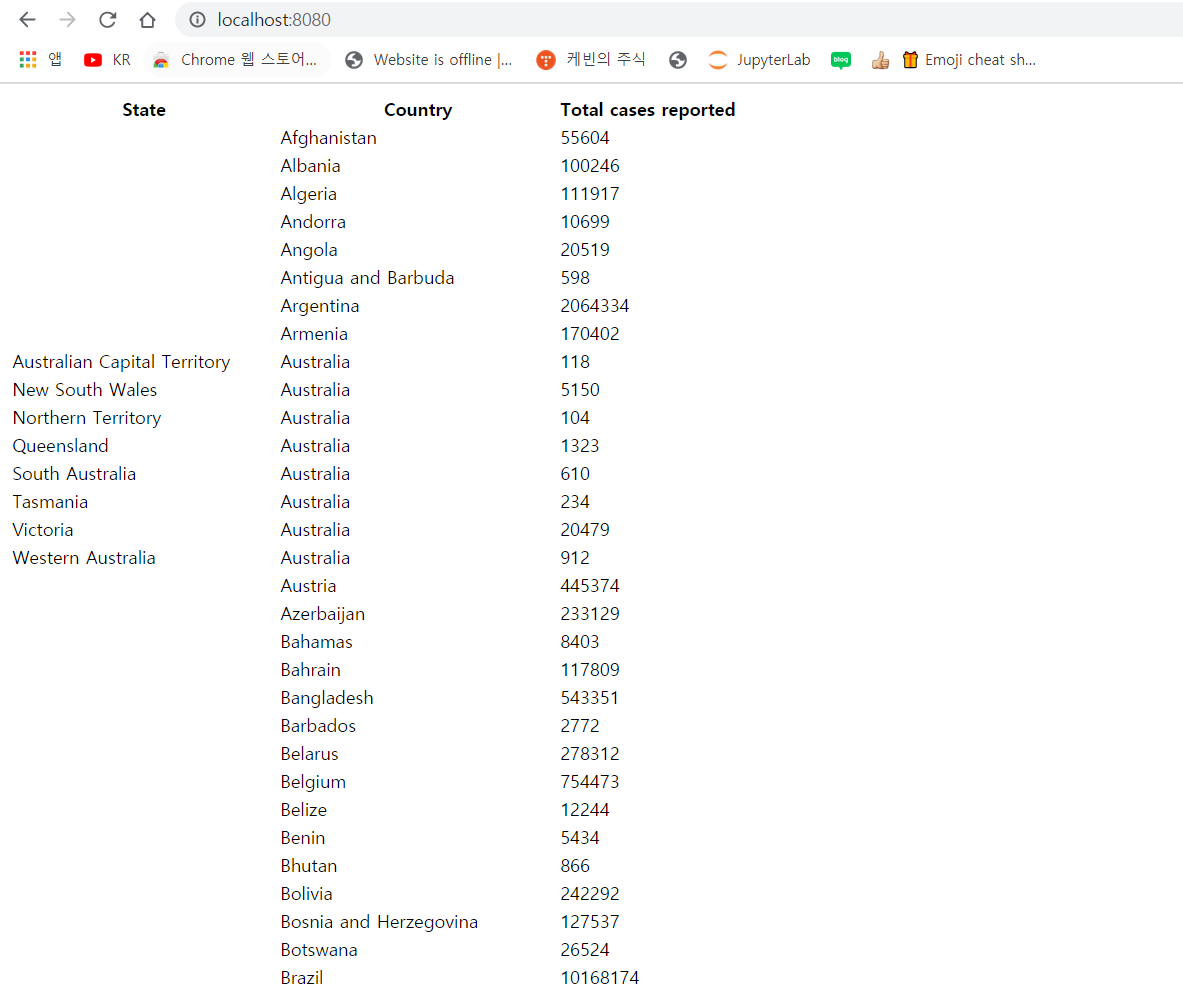
제대로 찍히는 것을 볼 수 있다!! 이제 부트스트랩 css를 이용해서 페이지를 조금 꾸며보자.
부트스트랩 공식 페이지에 들어가서 css link를 복사한다.
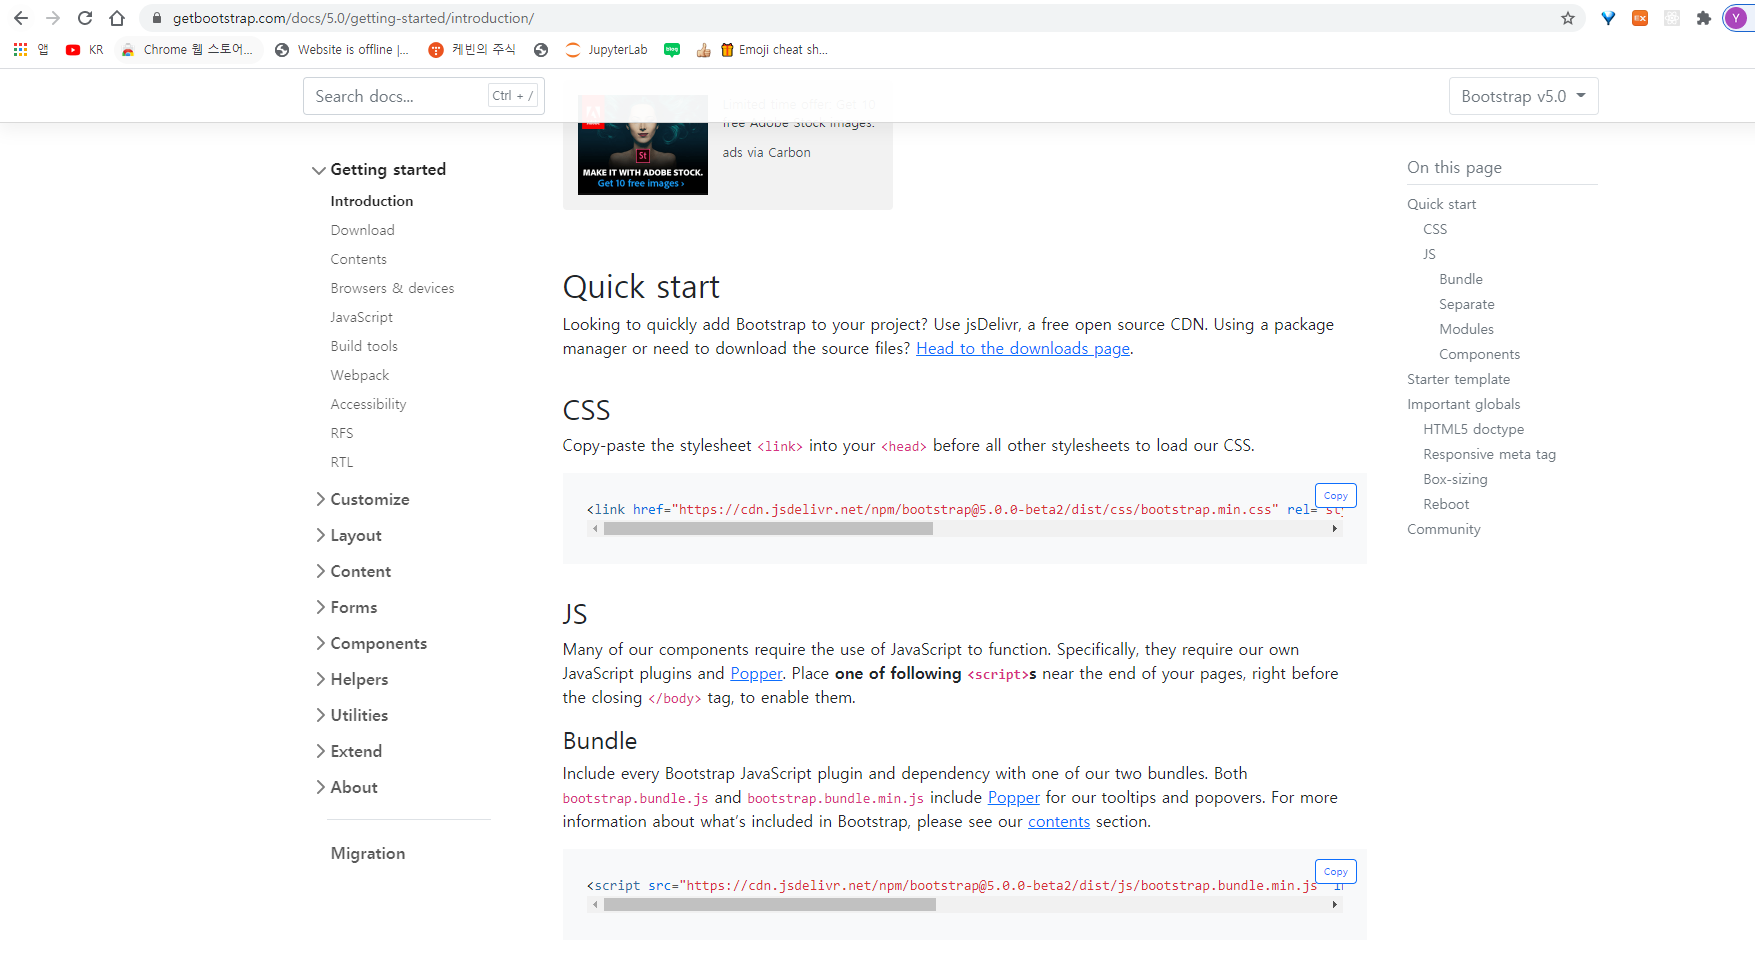
이제 복사한 css link를 home.html에 붙여넣기를 한다.
home.html
(...)
<head>
  <title>Coronavirus Tracker Application</title>
  <meta http-equiv="Content-Type" content="text/html; charset=UTF-8" />
  <link
    href="https://cdn.jsdelivr.net/npm/bootstrap@5.0.0-beta2/dist/css/bootstrap.min.css"
    rel="stylesheet"
    integrity="sha384-BmbxuPwQa2lc/FVzBcNJ7UAyJxM6wuqIj61tLrc4wSX0szH/Ev+nYRRuWlolflfl"
    crossorigin="anonymous"
  />
</head>

(...)
부트스트랩에서 제공하는 Components 템플릿을 사용할 건데 해당 영상에서는 jumbotron를 사용하지만 부트스트랩에서 이제는 제공하지 않아서 다른 것을 사용했다. 그래서 Component 중 Alerts에 있는 것을 사용했다. 그리고 항목을 몇가지 더 추가했다. ${locationStat.diffFromPrevDay}는 전날과 비교해서 확진자 수가 얼마나 늘었는지 보여주는 항목이다. 그리고 ${totalReportedCases}는 국가별 전체 확진자 수를 나타내고 ${totalReportedCases}는 전세계적으로 전날과 비교해서 총 확진자 수를 나타내준다. 마지막으로 ui가 좀 더 정돈되게 나오게 하기 위해서 <div class="container">로 body 태그 내부를 감싸준다.
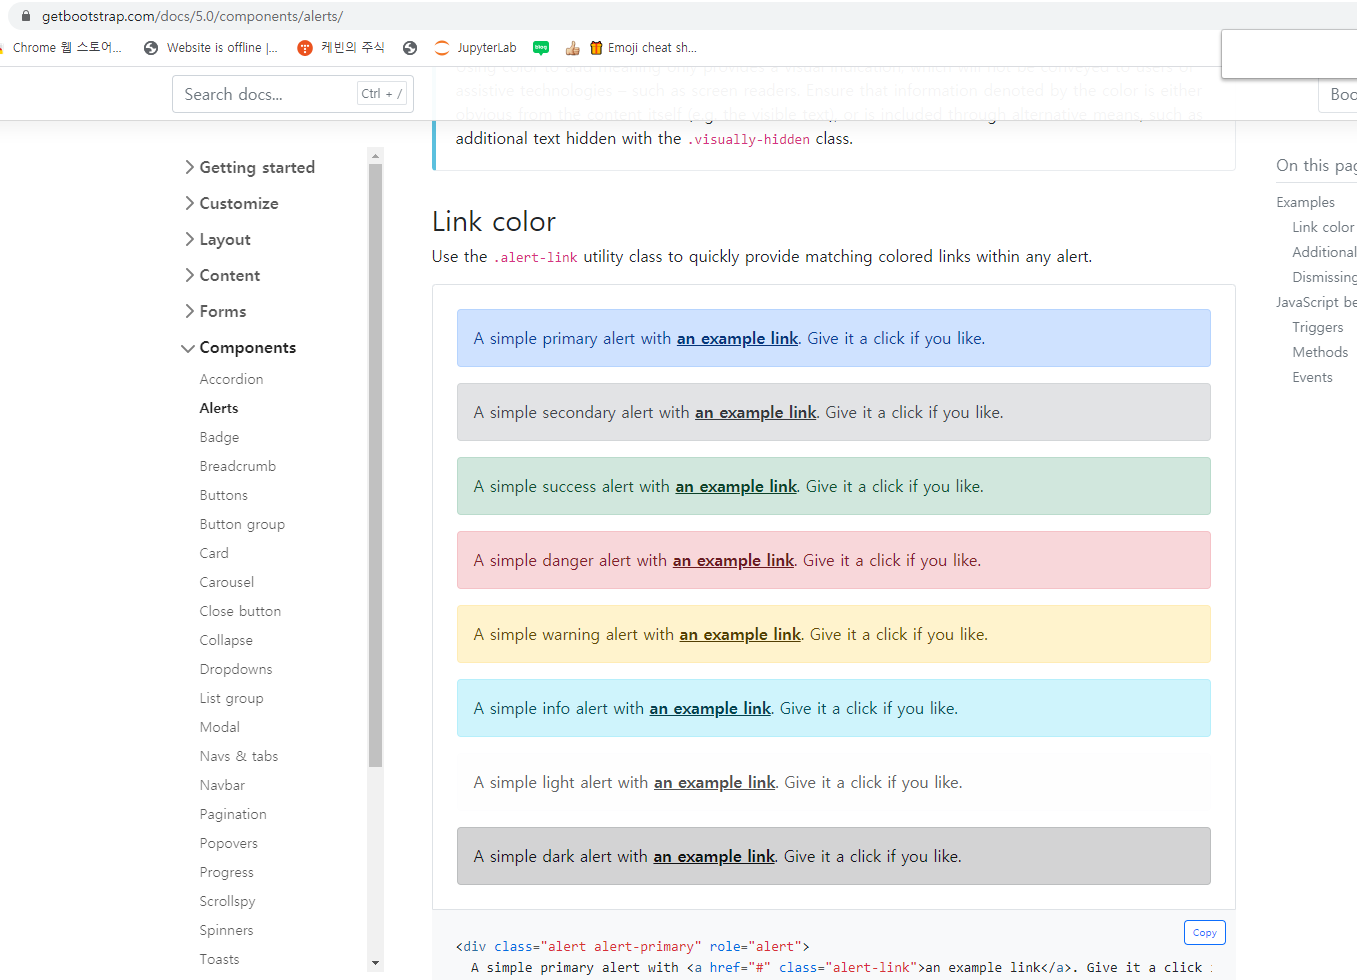
이제 html를 다시 고쳐보자
home.html
<!DOCTYPE html>

<html xmlns:th="http://www.thymeleaf.org">
  <head>
    <title>Coronavirus Tracker Application</title>
    <meta http-equiv="Content-Type" content="text/html; charset=UTF-8" />
    <link
      href="https://cdn.jsdelivr.net/npm/bootstrap@5.0.0-beta1/dist/css/bootstrap.min.css"
      rel="stylesheet"
      integrity="sha384-giJF6kkoqNQ00vy+HMDP7azOuL0xtbfIcaT9wjKHr8RbDVddVHyTfAAsrekwKmP1"
      crossorigin="anonymous"
    />
  </head>

  <body>
    <div class="container">
      <h1>Coronavirus Tracker Application</h1>
      <p>
        This application lists the current number of cases reported across the
        globe
      </p>

      <div class="alert alert-primary" role="alert">
        <h1 class="display-4" th:text="${totalReportedCases}"></h1>
        <p class="lead">Total cases reported as of today</p>
        <hr class="my-4" />
        <p>
          <span>New cases reported since previous day</span>
          <span th:text="${totalNewCases}"></span>
        </p>
      </div>

      <table class="table">
        <tr>
          <th>State</th>
          <th>Country</th>
          <th>Total cases reported</th>
          <th>Changes since last day</th>
        </tr>
        <tr th:each="locationStat : ${locationStats}">
          <td th:text="${locationStat.state}"></td>
          <td th:text="${locationStat.country}"></td>
          <td th:text="${locationStat.latestTotalCases}">0</td>
          <td th:text="${locationStat.diffFromPrevDay}">0</td>
        </tr>
      </table>
    </div>
  </body>
</html>
이제 추가된 항목을 자바 파일에 추가해 보자. 다시 LocationStats.java 파일로 돌아가서 변수와 getter, setter를 추가한다. 추가할 diffFromPrevDay는 국가별로 전날과 비교해서 몇명이 늘었는지 해당되는 수를 저장한다. 즉 위에 html에서 ${locationStat.diffFromPrevDay}에 대응된다.
LocationStats.java
package io.javabrains.coronavirustracker.models;

public class LocationStats {
    private String state;
    private String country;
    private int latestTotalCases;
    private int diffFromPrevDay;

    public int getDiffFromPrevDay() {
        return diffFromPrevDay;
    }

    public void setDiffFromPrevDay(int diffFromPrevDay) {
        this.diffFromPrevDay = diffFromPrevDay;
    }

   (...)
}
그리고 CoronaVirusDataService.java로 돌아가서 간단한 로직을 작성한다. 출력문은 이제 필요 없으니까 제거하고 우리가 html에서 추가한 변수에 데이터를 넣어주는 로직을 작성한다.
CoronaVirusDataService.java
(...)
@Service
public class CoronaVirusDataService {

    (...)
    public void fetchVirusData() throws IOException, InterruptedException{
        (...)
        for (CSVRecord record : records) {
            LocationStats locationStat=new LocationStats();

            locationStat.setState(record.get("Province/State"));
            locationStat.setCountry(record.get("Country/Region"));

            int latestCases=Integer.parseInt(record.get(record.size()-1));
            int prevDayCases=Integer.parseInt(record.get(record.size()-2));

            locationStat.setLatestTotalCases(latestCases);
            locationStat.setDiffFromPrevDay(latestCases-prevDayCases);

            newStats.add(locationStat);
        }
        this.allStats=newStats;
    }
}
서비스를 수정했으니 이제 마지막으로 controller를 수정해 준다.
HomeController
(...)
@Controller
public class HomeController {
    @Autowired
    CoronaVirusDataService coronaVirusDataService;
    @GetMapping("/")
    public String home(Model model){
        List<LocationStats> allStats=coronaVirusDataService.getAllStats();
        int totalReportedCases=allStats.stream().mapToInt(stat->stat.getLatestTotalCases()).sum();

        int totalNewCases=allStats.stream().mapToInt(stat->stat.getDiffFromPrevDay()).sum();
        model.addAttribute("locationStats",coronaVirusDataService.getAllStats());
        model.addAttribute("totalReportedCases",totalReportedCases);
        model.addAttribute("totalNewCases",totalNewCases);

        return "home";
    }
}
9, 11: allStats 리스트 배열을 스트림형으로 변환 시킨후 String 형태의 숫자를 Int로 mapping하고 하나하나 다 더한 값을 반환한다.
12,13,14: model.addAttribute()를 통해서 html에서 파라미터로 넘겨준 이름으로 해당 데이터를 쓸 수 있도록 설정한다.
우리가 하고자 하는 것이 끝났다. 이제 어플리케이션을 실행해 보자
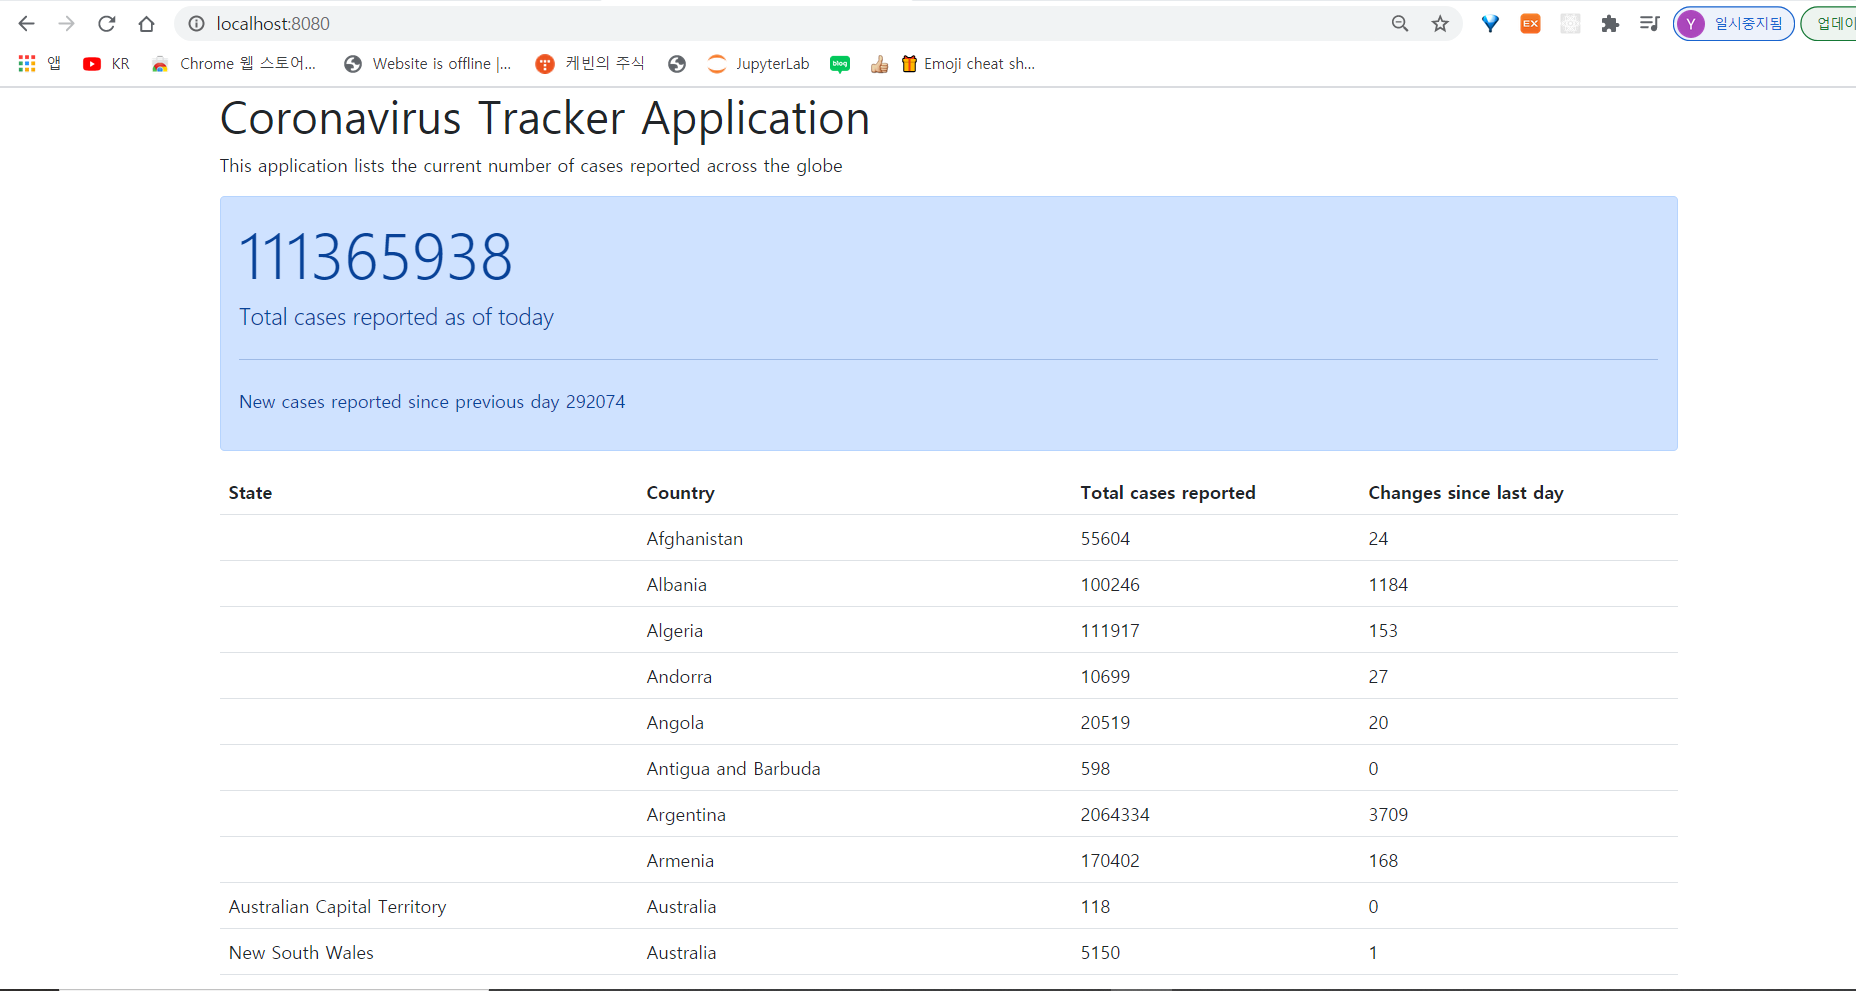
드디어 완성되었다!!!~~
